
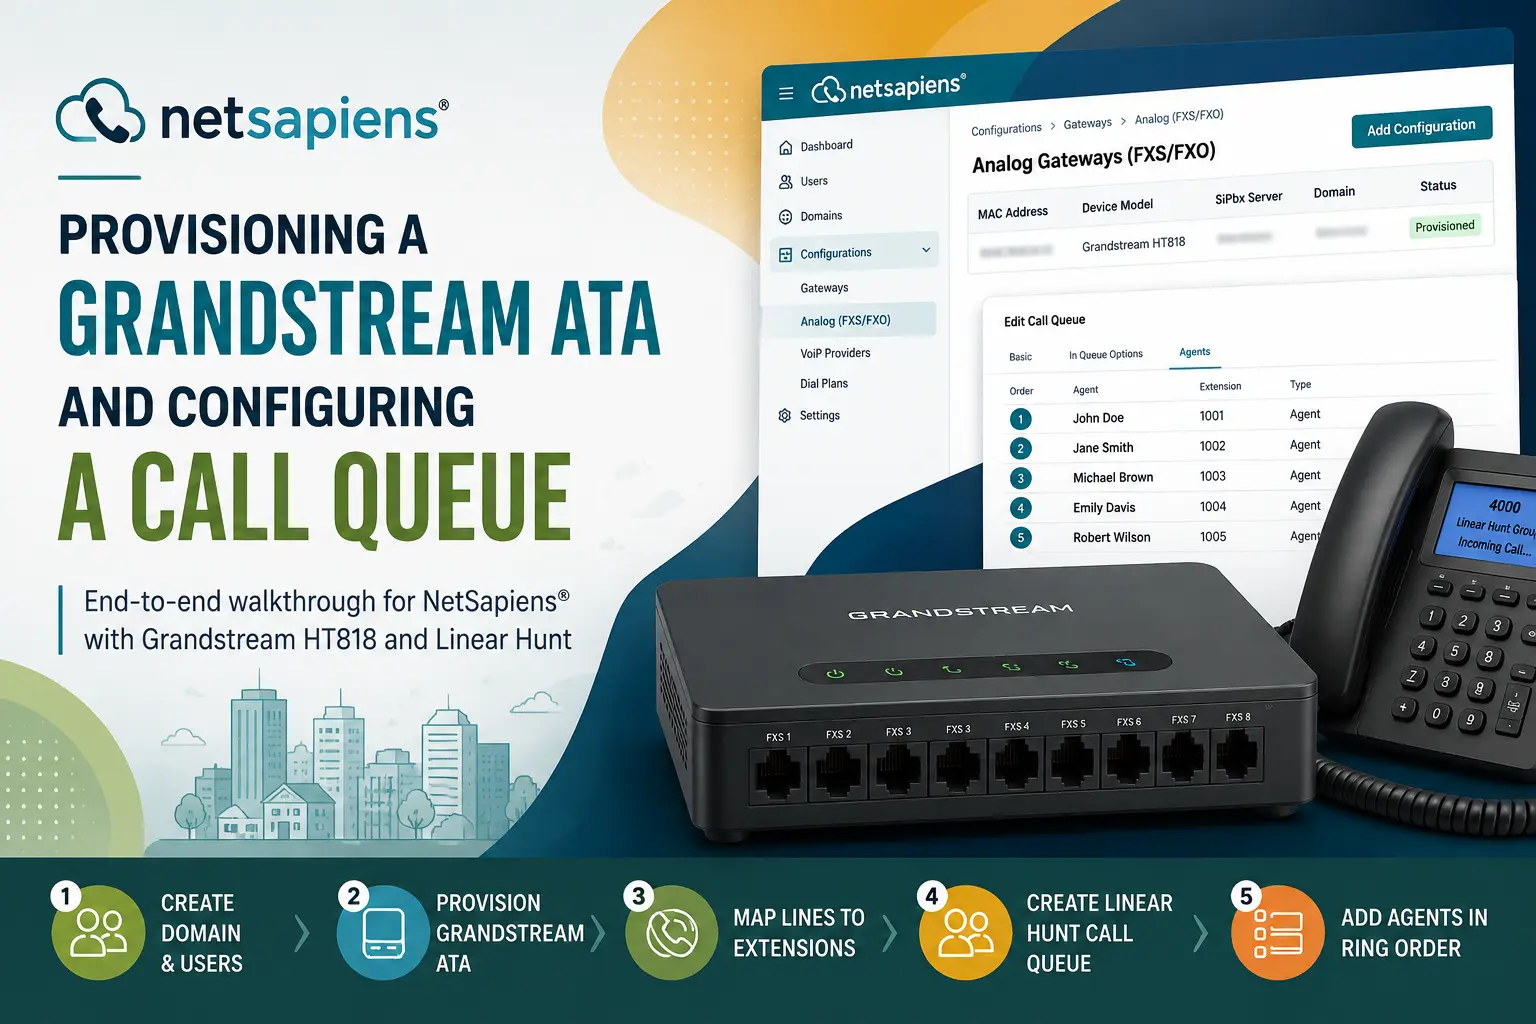
Provisioning an analog telephone adapter (ATA) and standing up a call queue are two of the most common day-one tasks when onboarding a small tenant on NetSapiens®. This walkthrough covers both, end to end, using a Grandstream HT818 (8-port FXS) and a linear-hunt queue. The same flow applies to other Grandstream analog gateways and, with minor differences, to most ATAs the platform supports.
Note on screenshots: every screenshot below is from a real tenant, so customer-identifying details — domain name, company name, physical/emergency address, admin username, caller-ID and direct numbers, the ATA’s MAC and public IP — have been blurred. Extension numbers and device models are left visible because they’re generic to the walkthrough.
Step 1 — Create the domain
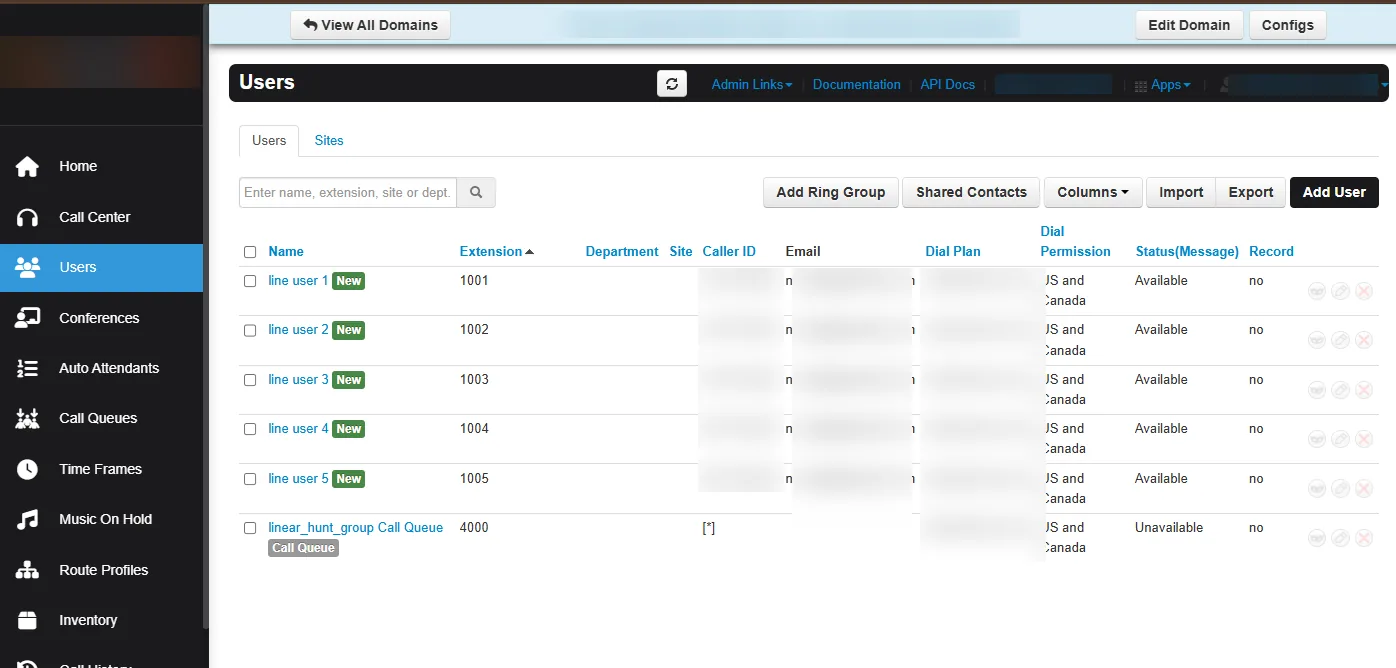
Start by creating the tenant domain. Once it exists, you land on the domain’s Users view — this is where the rest of the user and extension work happens.
Step 2 — Add the required users
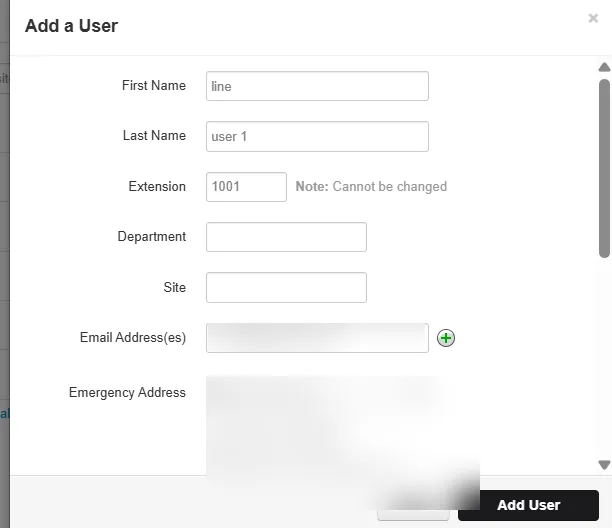
Add one user per line you intend to terminate on the ATA. Here we add five users (extensions 1001–1005). Click Add User and fill in the name, extension, and email; the emergency address is inherited from the domain.
Scroll down and make sure Add Phone Extension is checked — this is what creates the SIP registration the ATA line will authenticate against. Without it, there’s no extension for the ATA port to bind to.
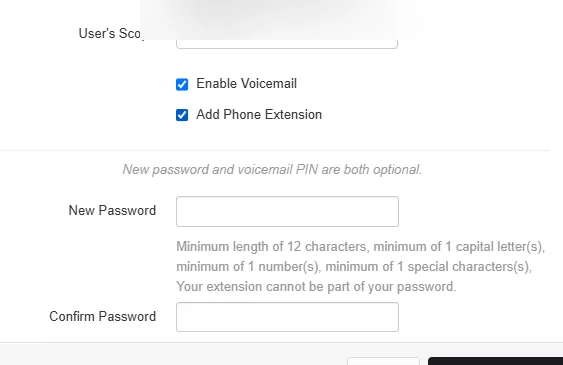
Repeat for each line (1001 through 1005 in this example).
Step 3 — Add the Grandstream ATA in the endpoints server
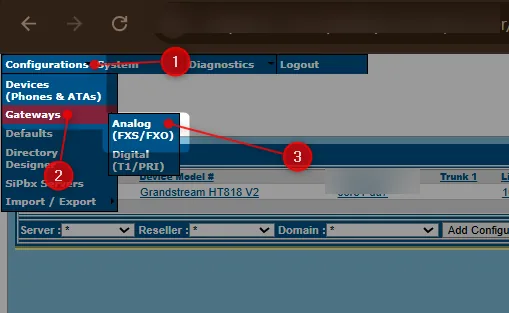
Now switch to the NDP endpoints server. Go to Configurations → Gateways → Analog (FXS/FXO).
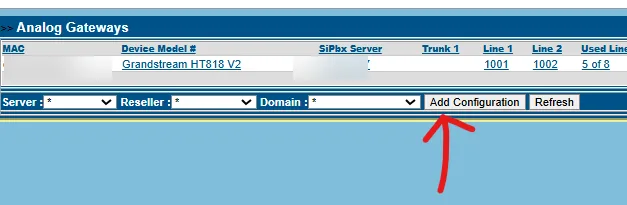
On the Analog Gateways screen, click Add Configuration.
Step 4 — Enter the MAC and select the device model
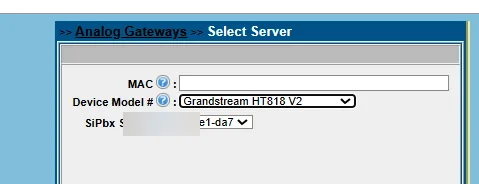
Enter the ATA’s MAC address and choose the correct Device Model (Grandstream HT818 V2 here). Then scroll down and click Select Server.
Step 5 — Select the domain
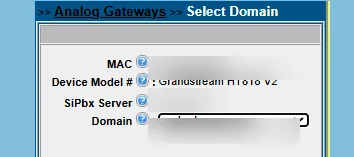
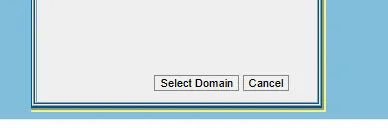
With the MAC and model set, confirm the SiPbx server and pick the tenant Domain you created in Step 1, then click Select Domain.
Step 6 — Assign lines to extensions
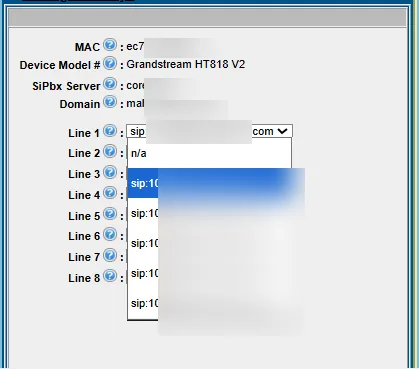
Map each FXS port on the ATA to a user extension. Line 1 → 1001, Line 2 → 1002, and so on. The dropdown lists the SIP identities available in the domain; assign as many lines as the ATA has ports and you have users for.
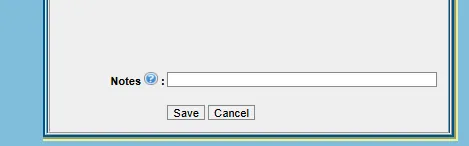
Scroll down and click Save.
Step 7 — Whitelist the IP and provision the ATA
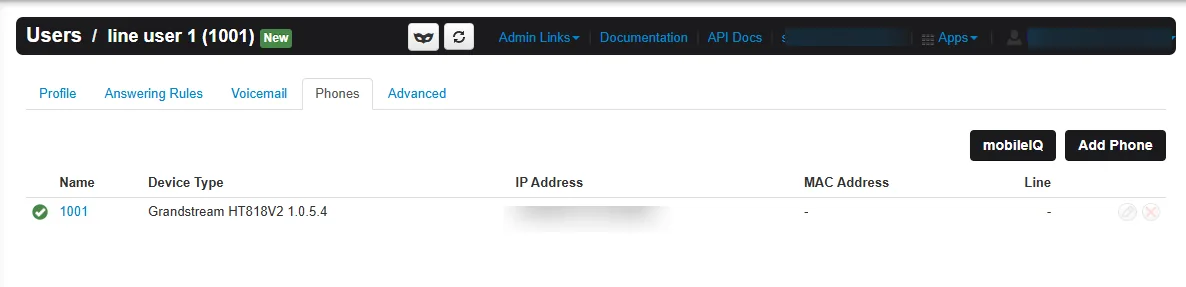
Whitelist the ATA’s public IP in the endpoints server, then let the device provision. ATAs can take a few minutes to provision properly — don’t assume failure too early. Confirm success under Users → (the user) → Phones: a registered ATA line shows a green status with the device type and its IP.
If the device sits behind a dynamic or residential IP where whitelisting isn’t practical, authenticate the provisioning request with credentials instead — see zero touch provisioning for Yealink phones without IP whitelisting.
Step 8 — Add the call queue (Linear Hunt)
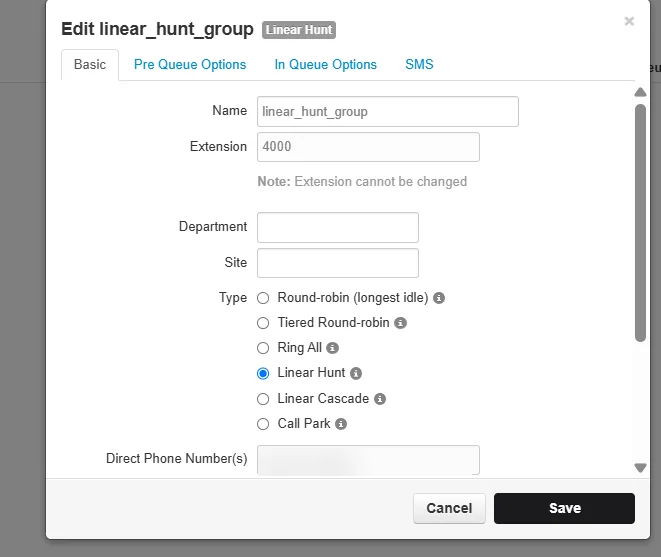
With the lines live, create the call queue. Add a new Call Queue, give it a name and extension (here linear_hunt_group on 4000), and set Type to Linear Hunt — calls are offered to agents in a fixed order, top to bottom.
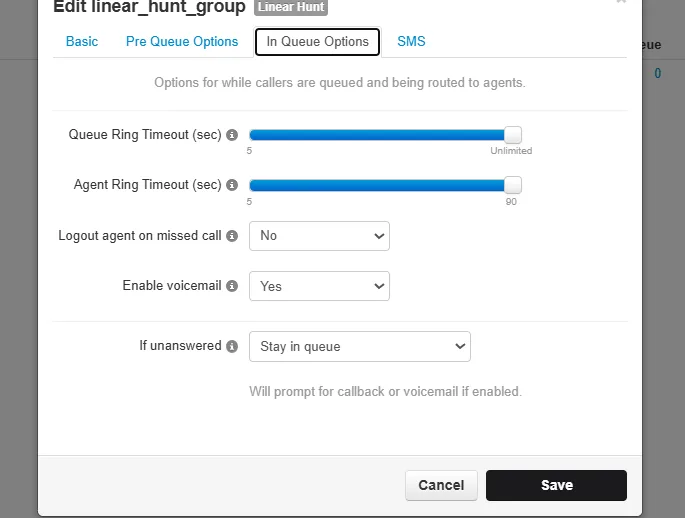
Set the in-queue behaviour — ring timeouts, whether to log an agent out on a missed call, voicemail, and what happens if the call goes unanswered (stay in queue, callback, or voicemail).
Step 9 — Add agents in the expected ring order
Finally, add the agents to the queue in the order you want them to ring. With Linear Hunt, order is everything — the queue always starts at Order 1 and works down, so put your primary answer point first.
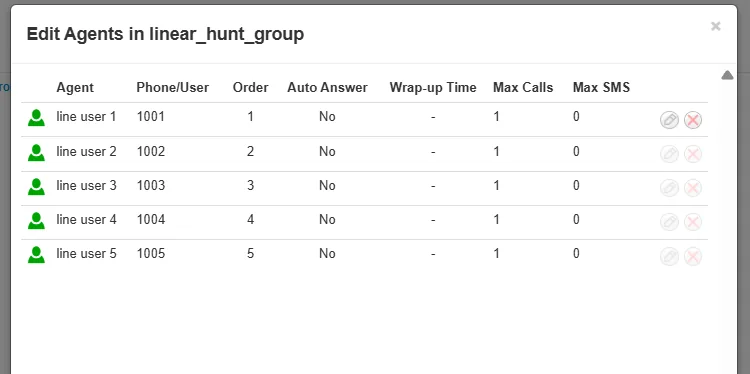
That’s the full path: domain and users created, the Grandstream ATA provisioned against the NDP endpoints server with each FXS line bound to an extension, and a linear-hunt queue distributing inbound calls to those extensions in order.
Independence and disclosure
VoIP Support Pro is an independent provider of support services for the NetSapiens® platform. We are not affiliated with, endorsed by, or sponsored by NetSapiens® or Crexendo, Inc. NetSapiens® is a registered trademark of Crexendo, Inc. Grandstream and HT818 are trademarks of Grandstream Networks, Inc. Screenshots are used for instructional purposes and customer-identifying data has been redacted.